
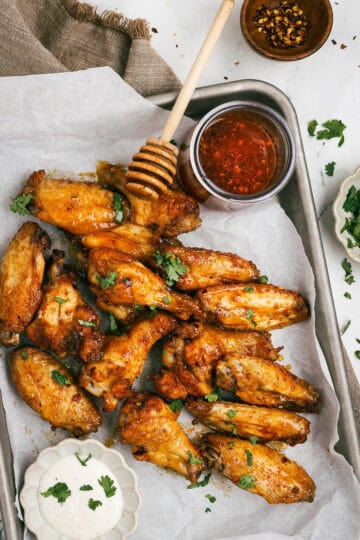
These wings are everything you love about fried chicken wings, but without the mess or the oil. Perfectly seasoned and baked until crunchy on the outside and tender on the inside, these oven-baked crispy chicken wings are a must for game days, gatherings, or just when a crispy chicken wing craving hits.
This is my go-to base recipe for making chicken wings at home. Once you master this version, you can easily build on it with your favorite sauces and rubs, from classic buffalo and BBQ to garlic parmesan or hot honey. The method stays the same, giving you reliably crispy wings every single time.

Why You'll Love This Recipe
- It’s foolproof: No frying, no splattering oil, just a simple oven method that delivers perfectly crispy wings every time.
- It’s your new go-to: Once you master this base recipe, you can build endless flavor variations, from smoky BBQ to tangy buffalo or sticky hot honey.
- Crispy without the grease: The baking powder trick gives you that irresistible crunch while keeping things light and oven-baked.
- Budget-friendly comfort food: A few pantry staples turn affordable chicken wings into something special.
- Beginner-friendly: If you’re new to cooking, this recipe is easy to follow and helps you build kitchen confidence.
- Crowd-pleaser status: Whether you serve them dry-rubbed or saucy, everyone reaches for seconds (and thirds). These wings are perfect for any occasion. Whether it's game day, weeknight dinners or backyard gatherings, these wings fit them all.
Jump to:
Equipment
- Baking Sheet: A sturdy, rimmed sheet pan to catch any drippings.
- Wire Rack (optional but recommended): Helps circulate heat around the wings so they bake evenly and crisp up beautifully.
- Parchment Paper or Aluminum Foil: Makes cleanup easier and prevents sticking.
- Large Mixing Bowl: For tossing the wings with the baking powder and seasonings.
- Small Mixing Bowl: To mix the seasonings in.
- Tongs: For flipping the wings halfway through baking.
- Paper Towels: To pat the wings completely dry. This step is key for achieving that crispy skin.
- Meat Thermometer (optional but recommended): Used to ensure the wings are fully cooked. If you don't have a meat thermometer, no worries. I have tips under the FAQ section to ensure the wings are ready to eat.
Ingredients
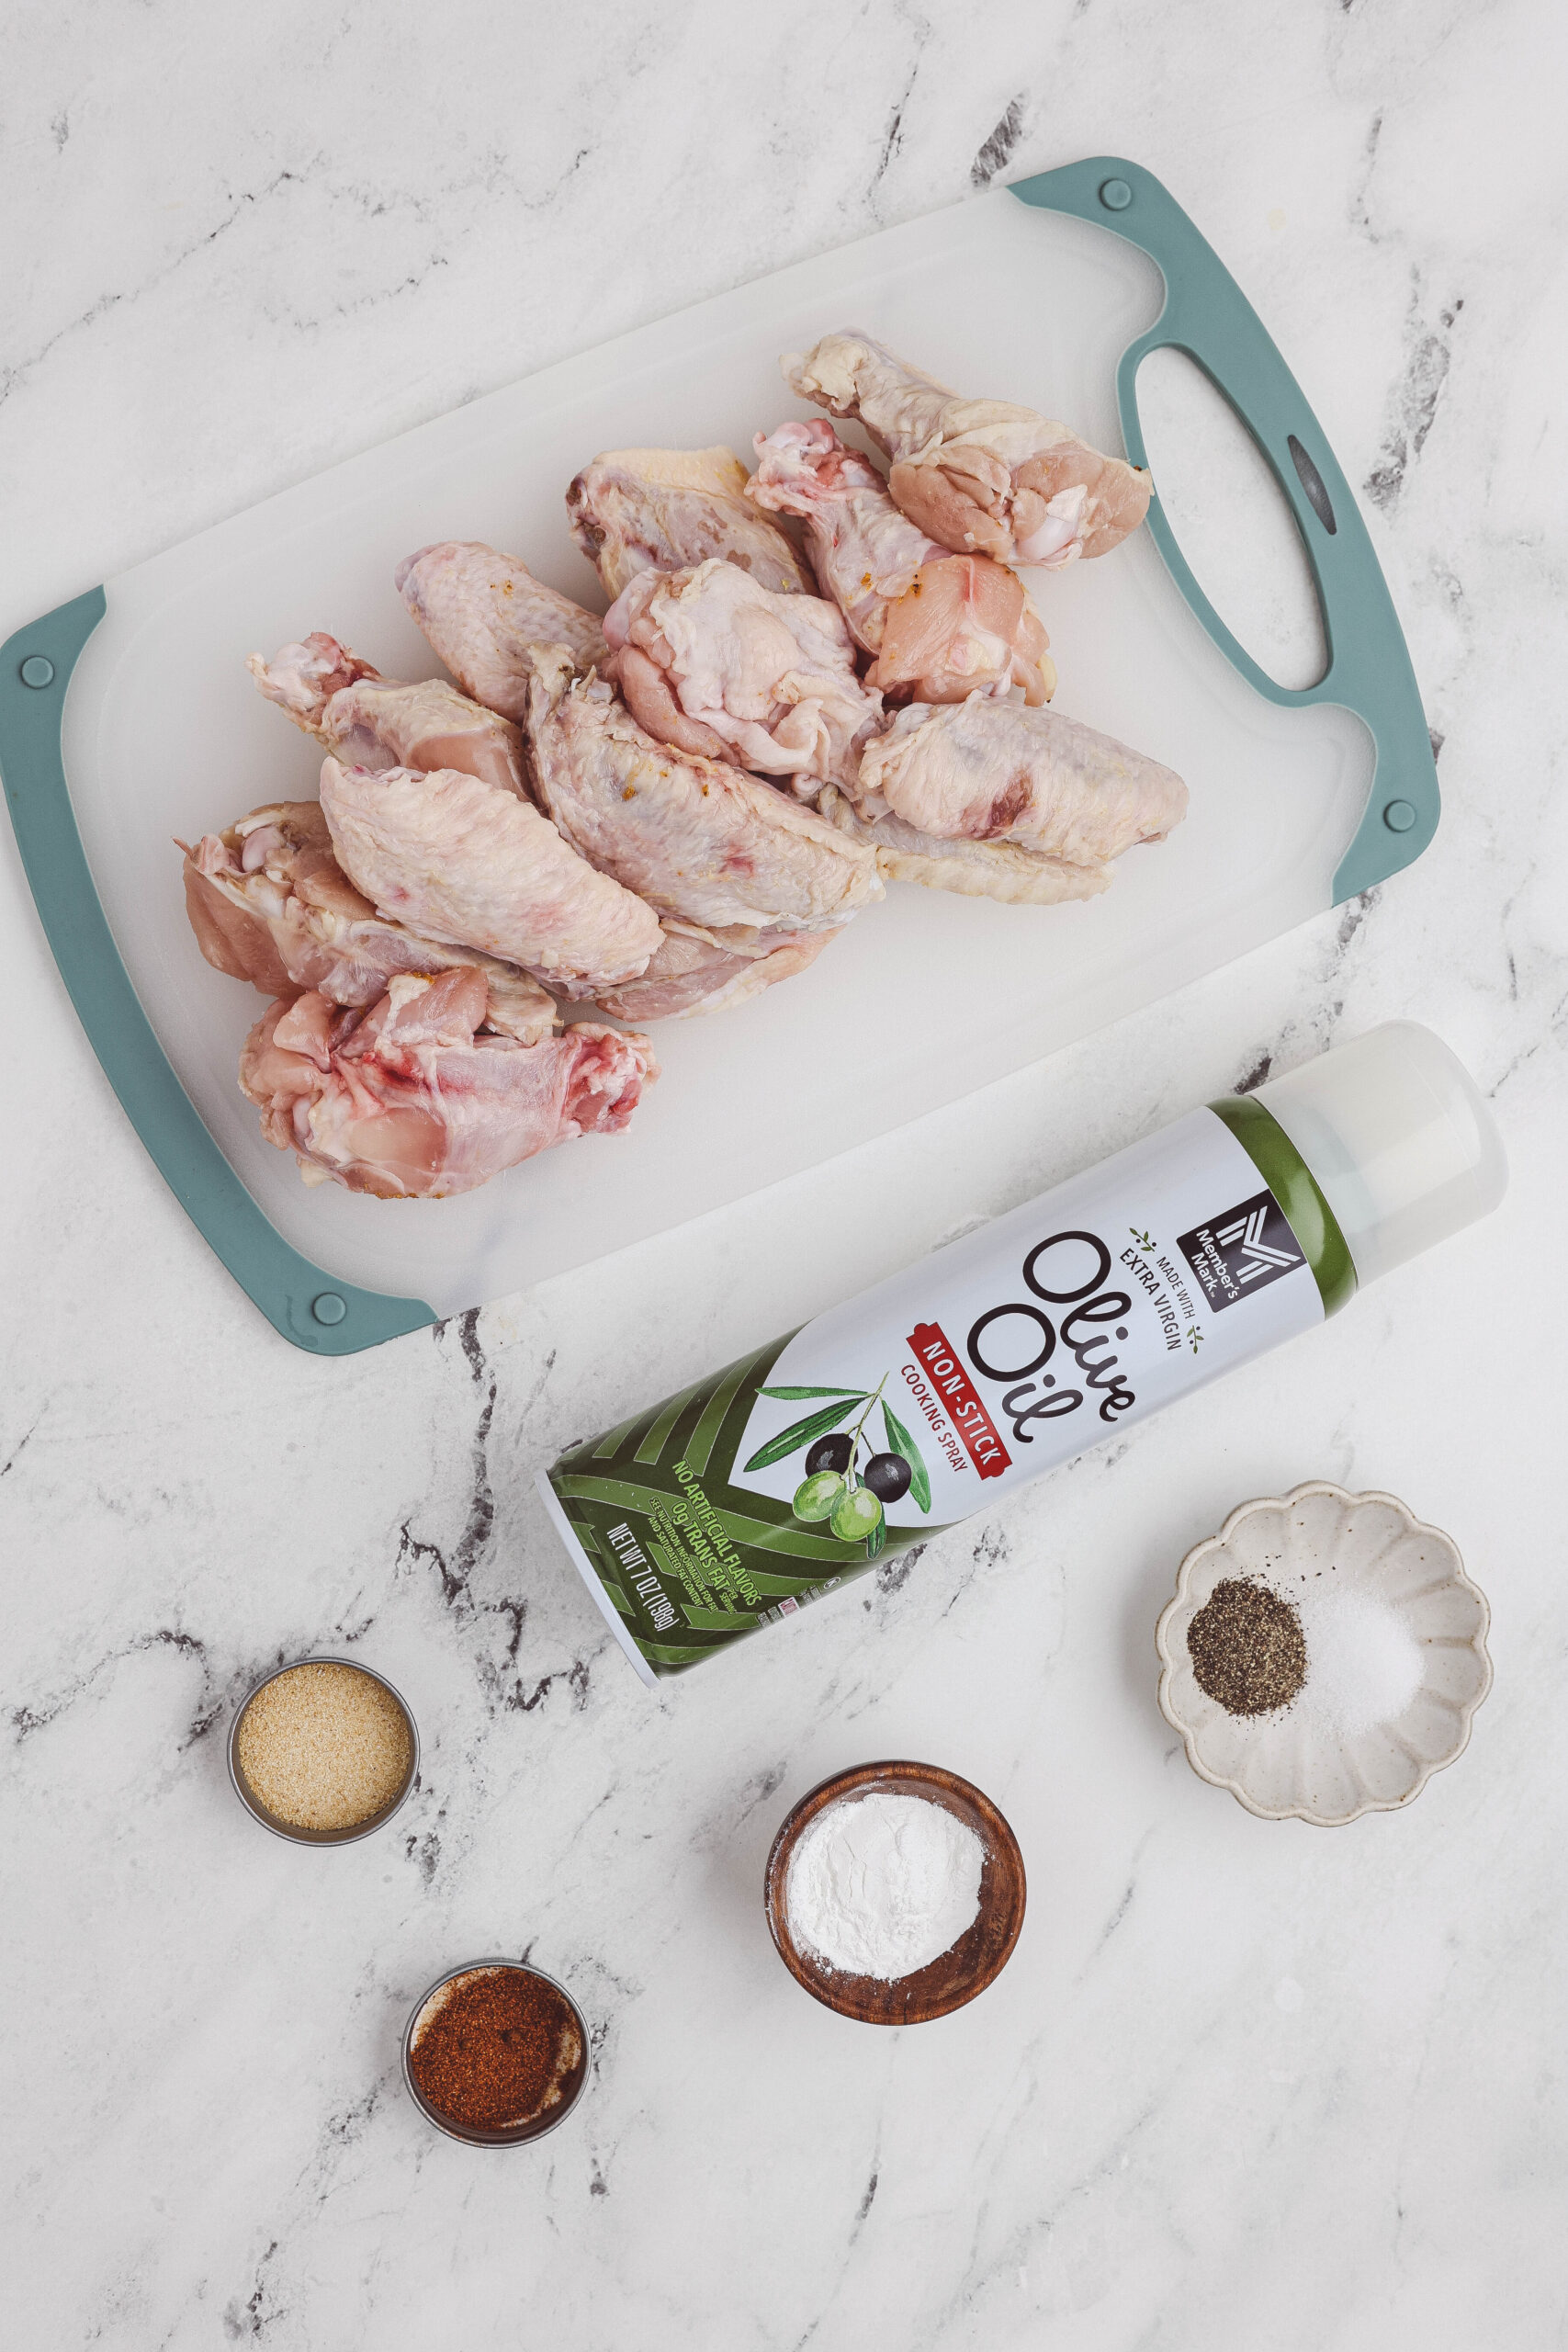
- Chicken Wings: Wings have a perfect balance of meat, skin, and fat, which makes them ideal for crisping in the oven. You can buy them whole or pre-cut into drumettes and flats.
- Baking Powder: This is the secret ingredient for crispy skin. It raises the pH of the chicken’s surface and helps draw out moisture, allowing the skin to blister and crunch up while baking. (Make sure it’s aluminum-free baking powder, not baking soda!)
- Salt: Enhances the natural flavor of the chicken and helps draw out excess moisture for better browning.
- Garlic Powder: Adds a savory, aromatic depth that complements almost any sauce or rub you might use later.
- Paprika: Gives a subtle smoky flavor and that beautiful golden color on the wings. You can use regular or smoked paprika depending on your taste.
- Black Pepper: Adds mild heat and rounds out the seasoning blend.
- Cooking Oil Spray: This is used to help prevent the chicken wings from sticking to the wire rack.
See recipe card for quantities.
Instructions
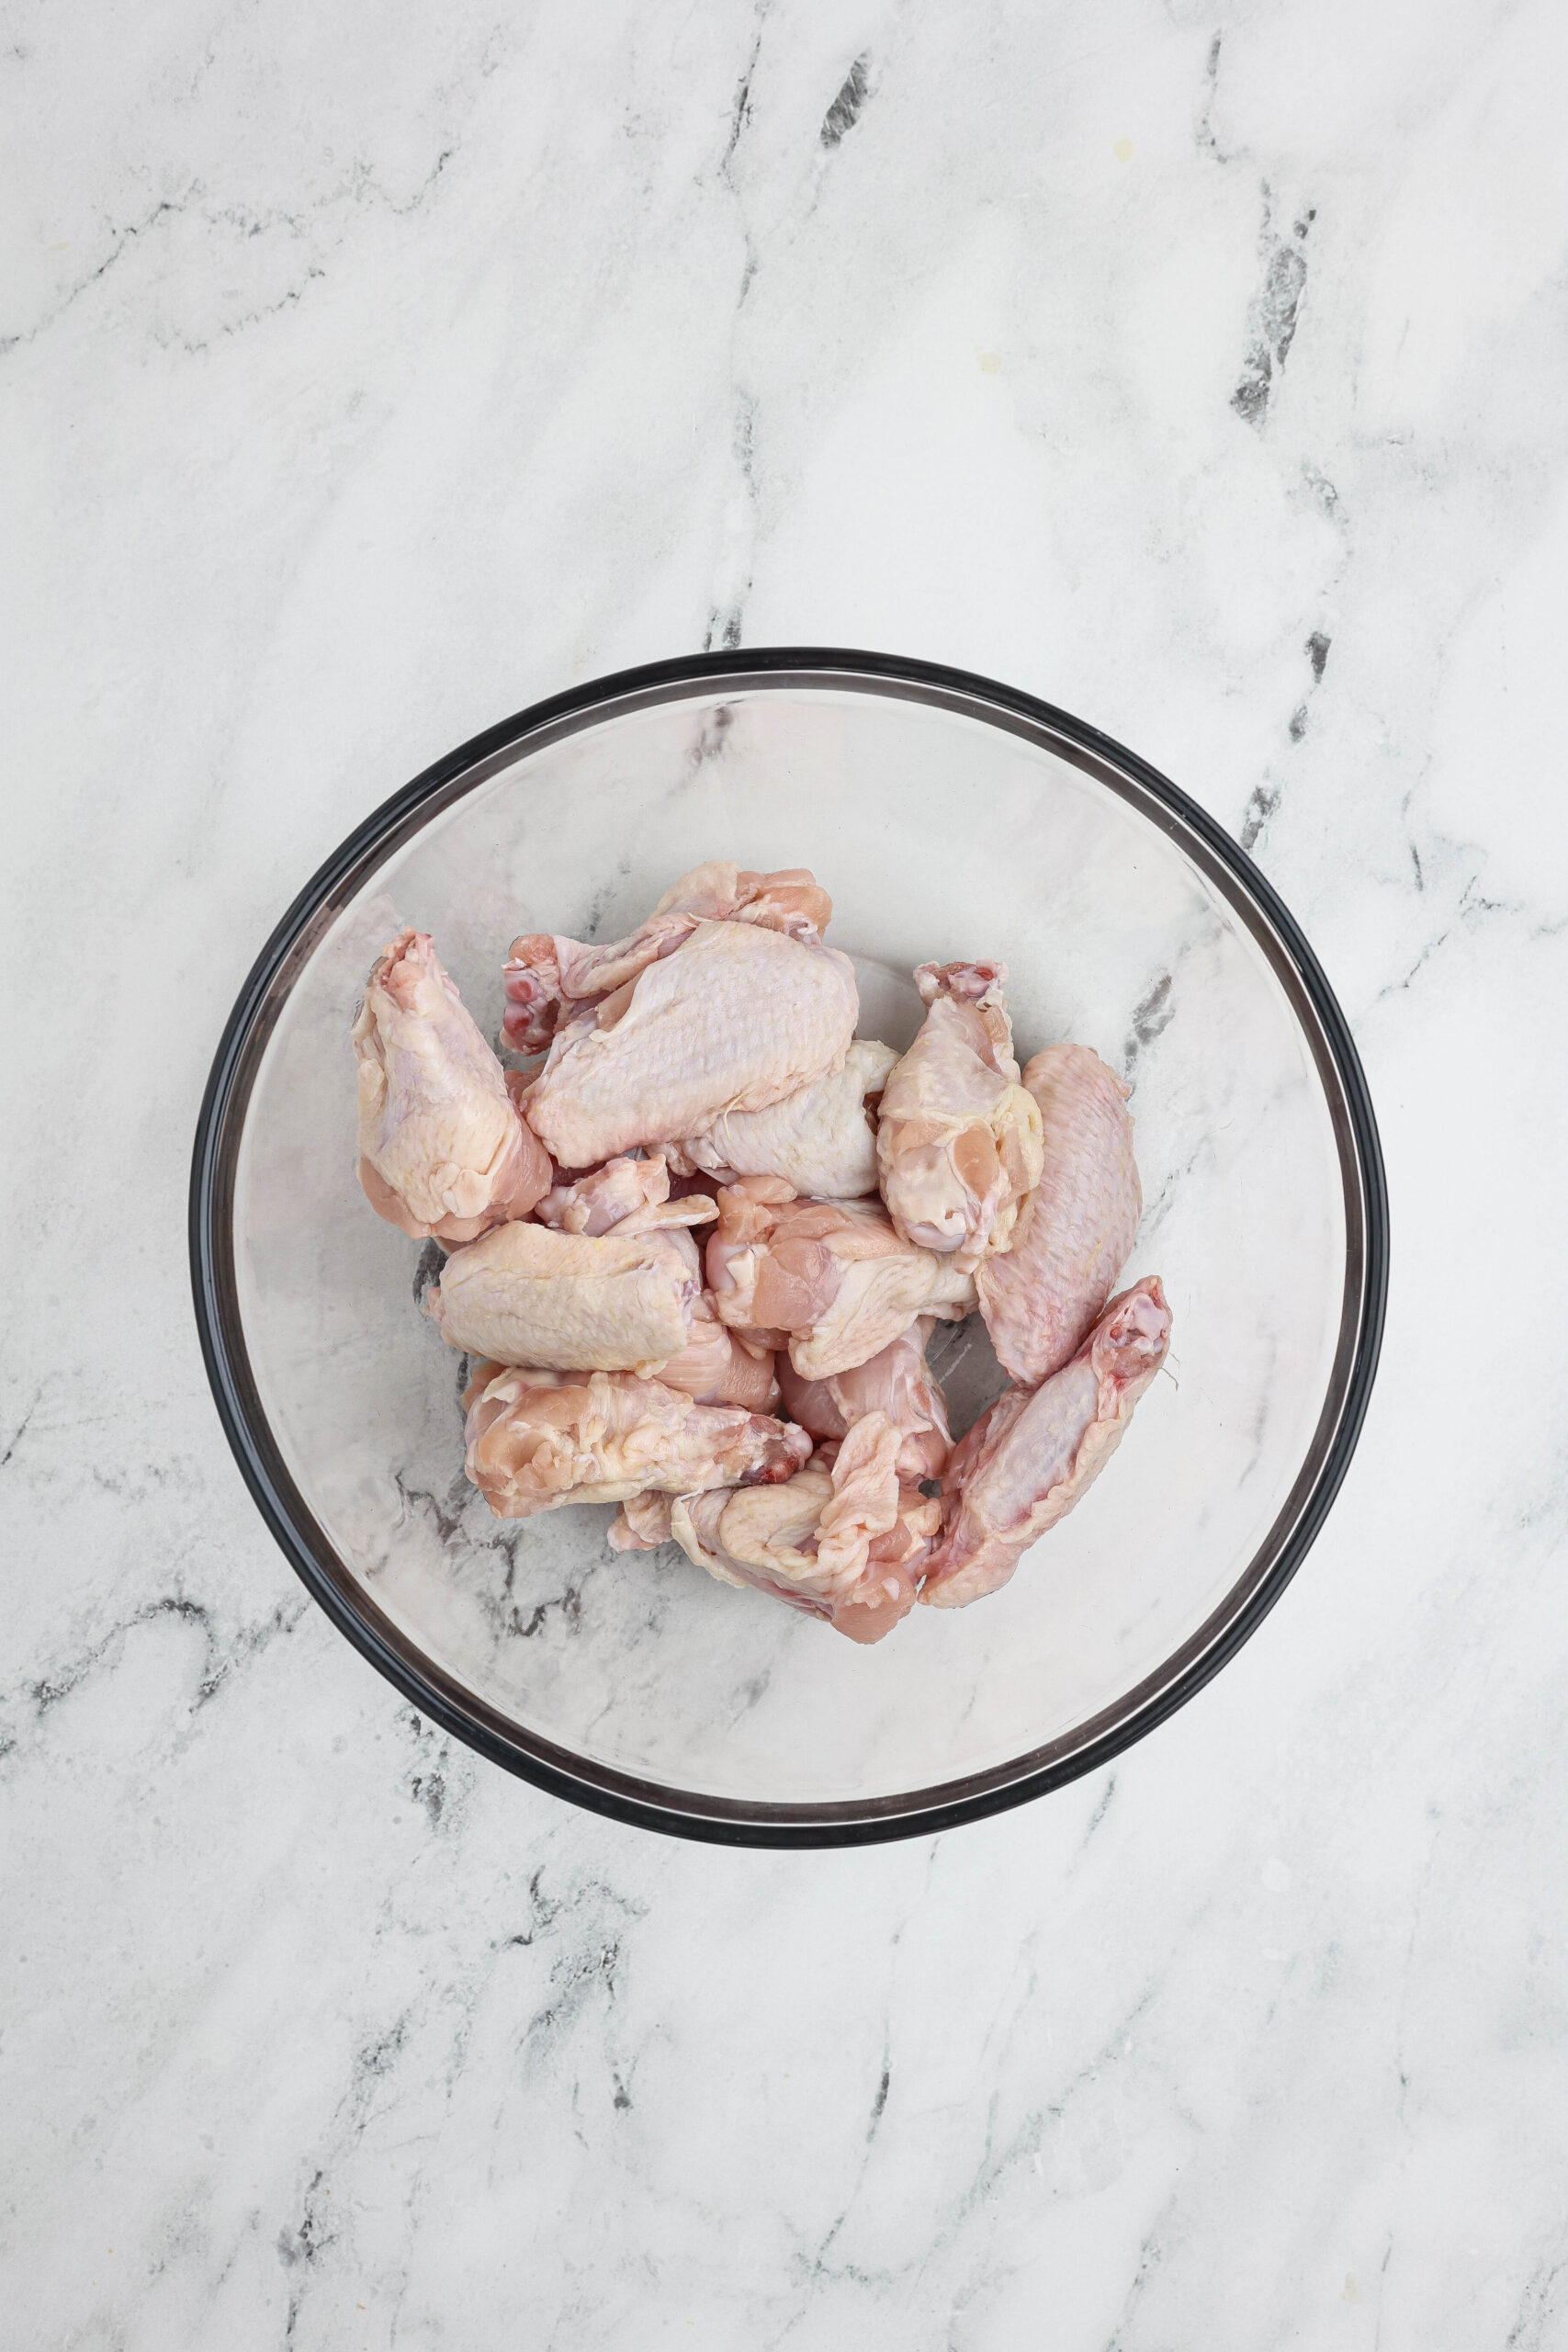
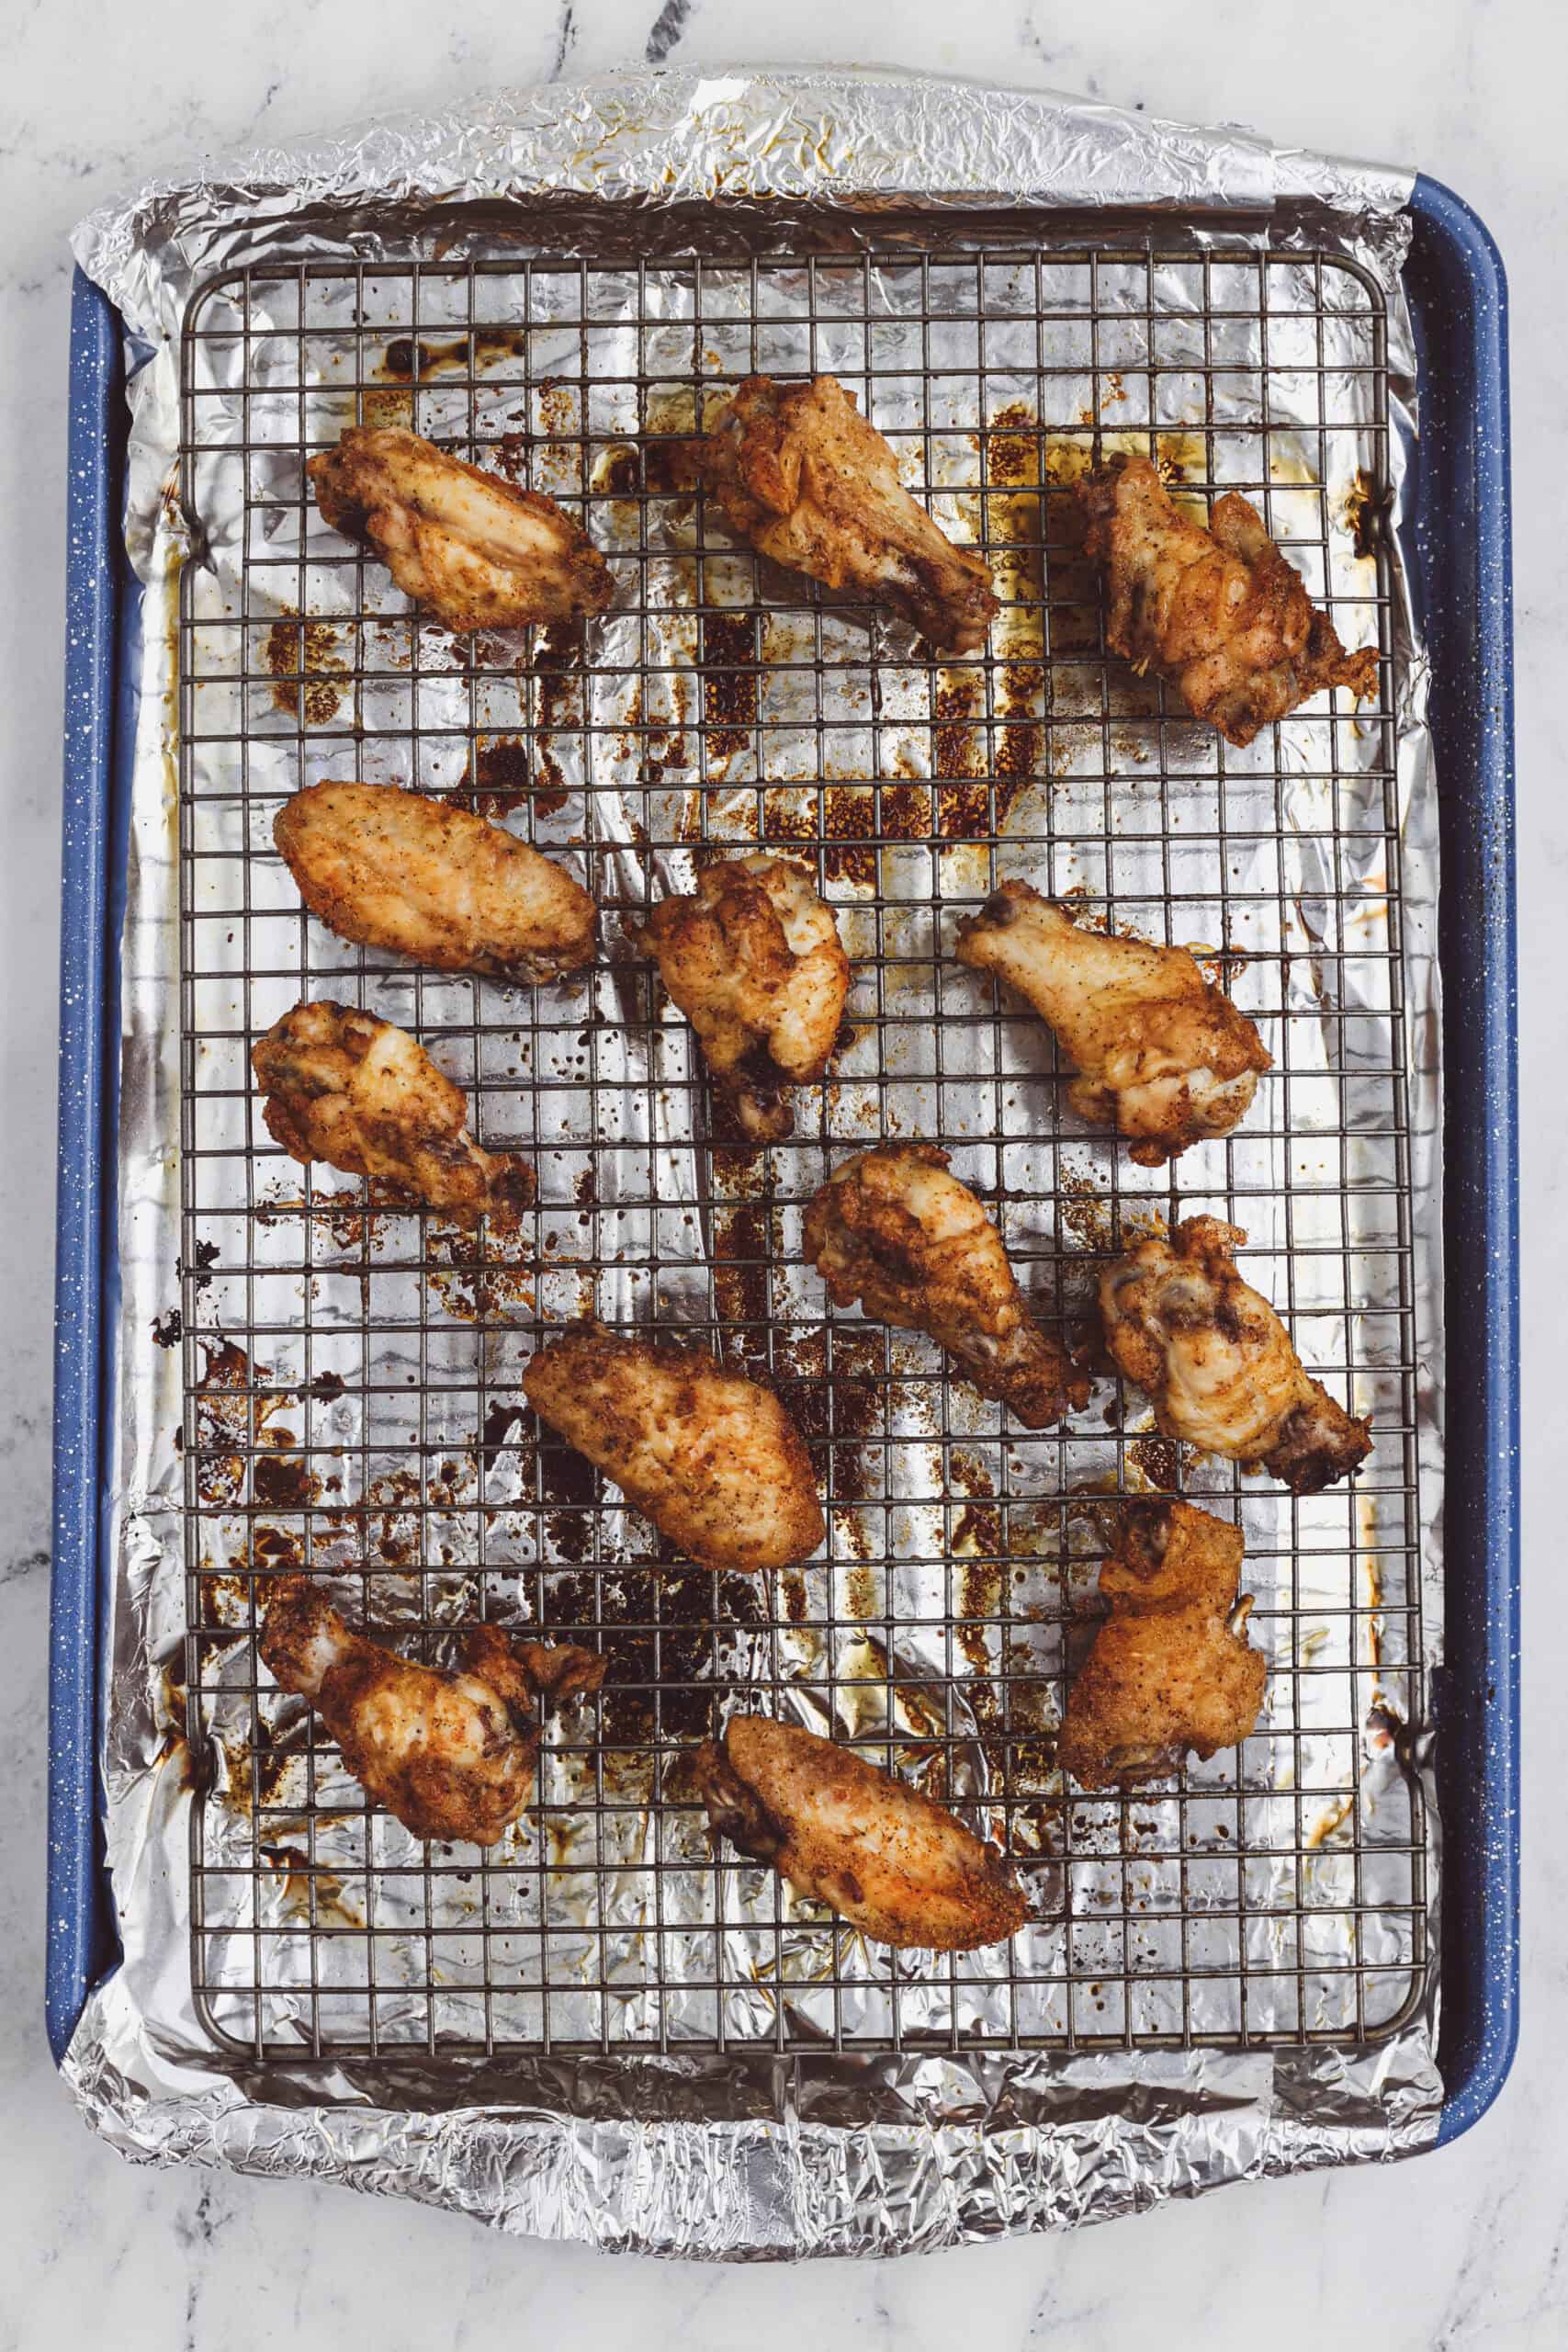
- Step 1: Pat wings dry with paper towels. Place in a large bowl and refrigerate for 30 minutes uncovered, this is one of the keys to crispy wings!
- Step 2: Preheat oven to 425°F (220°C). Line a baking sheet with parchment paper or foil and place a wire rack on top. Spray the wire rack with cooking oil.
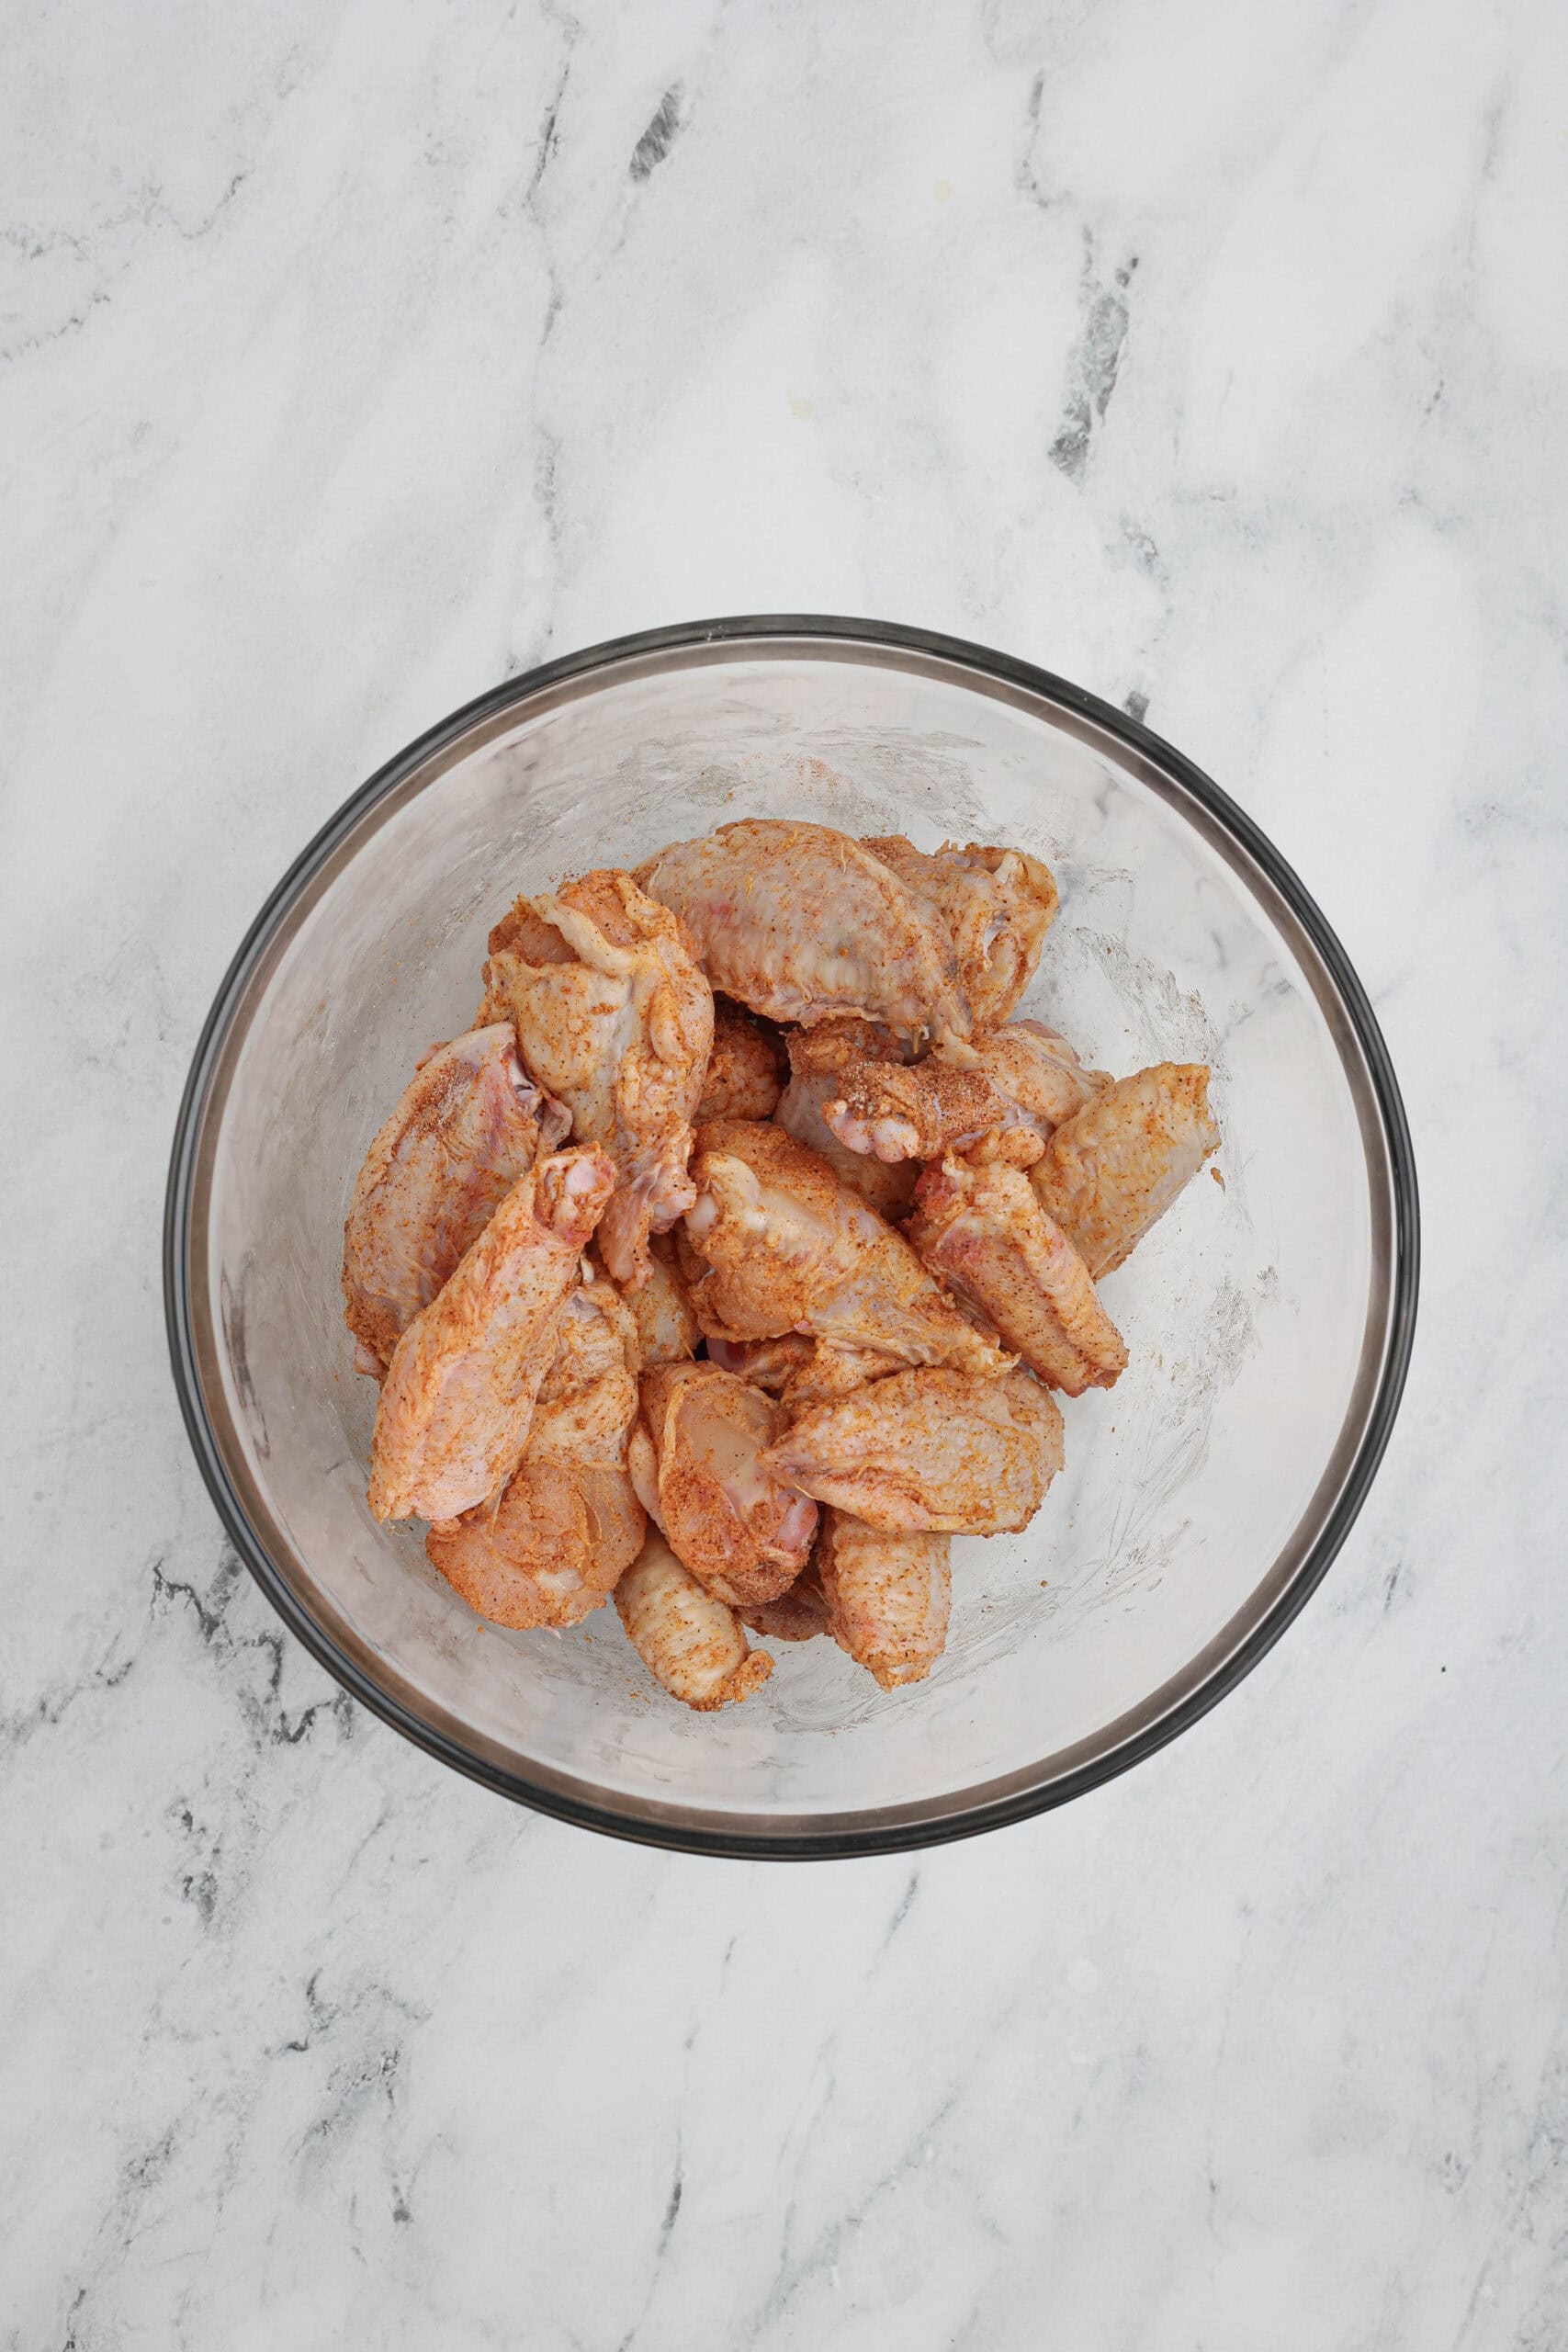
- Step 3: In a small bowl, combine baking powder, salt, and spices. Pour over the wings and toss until evenly coated.
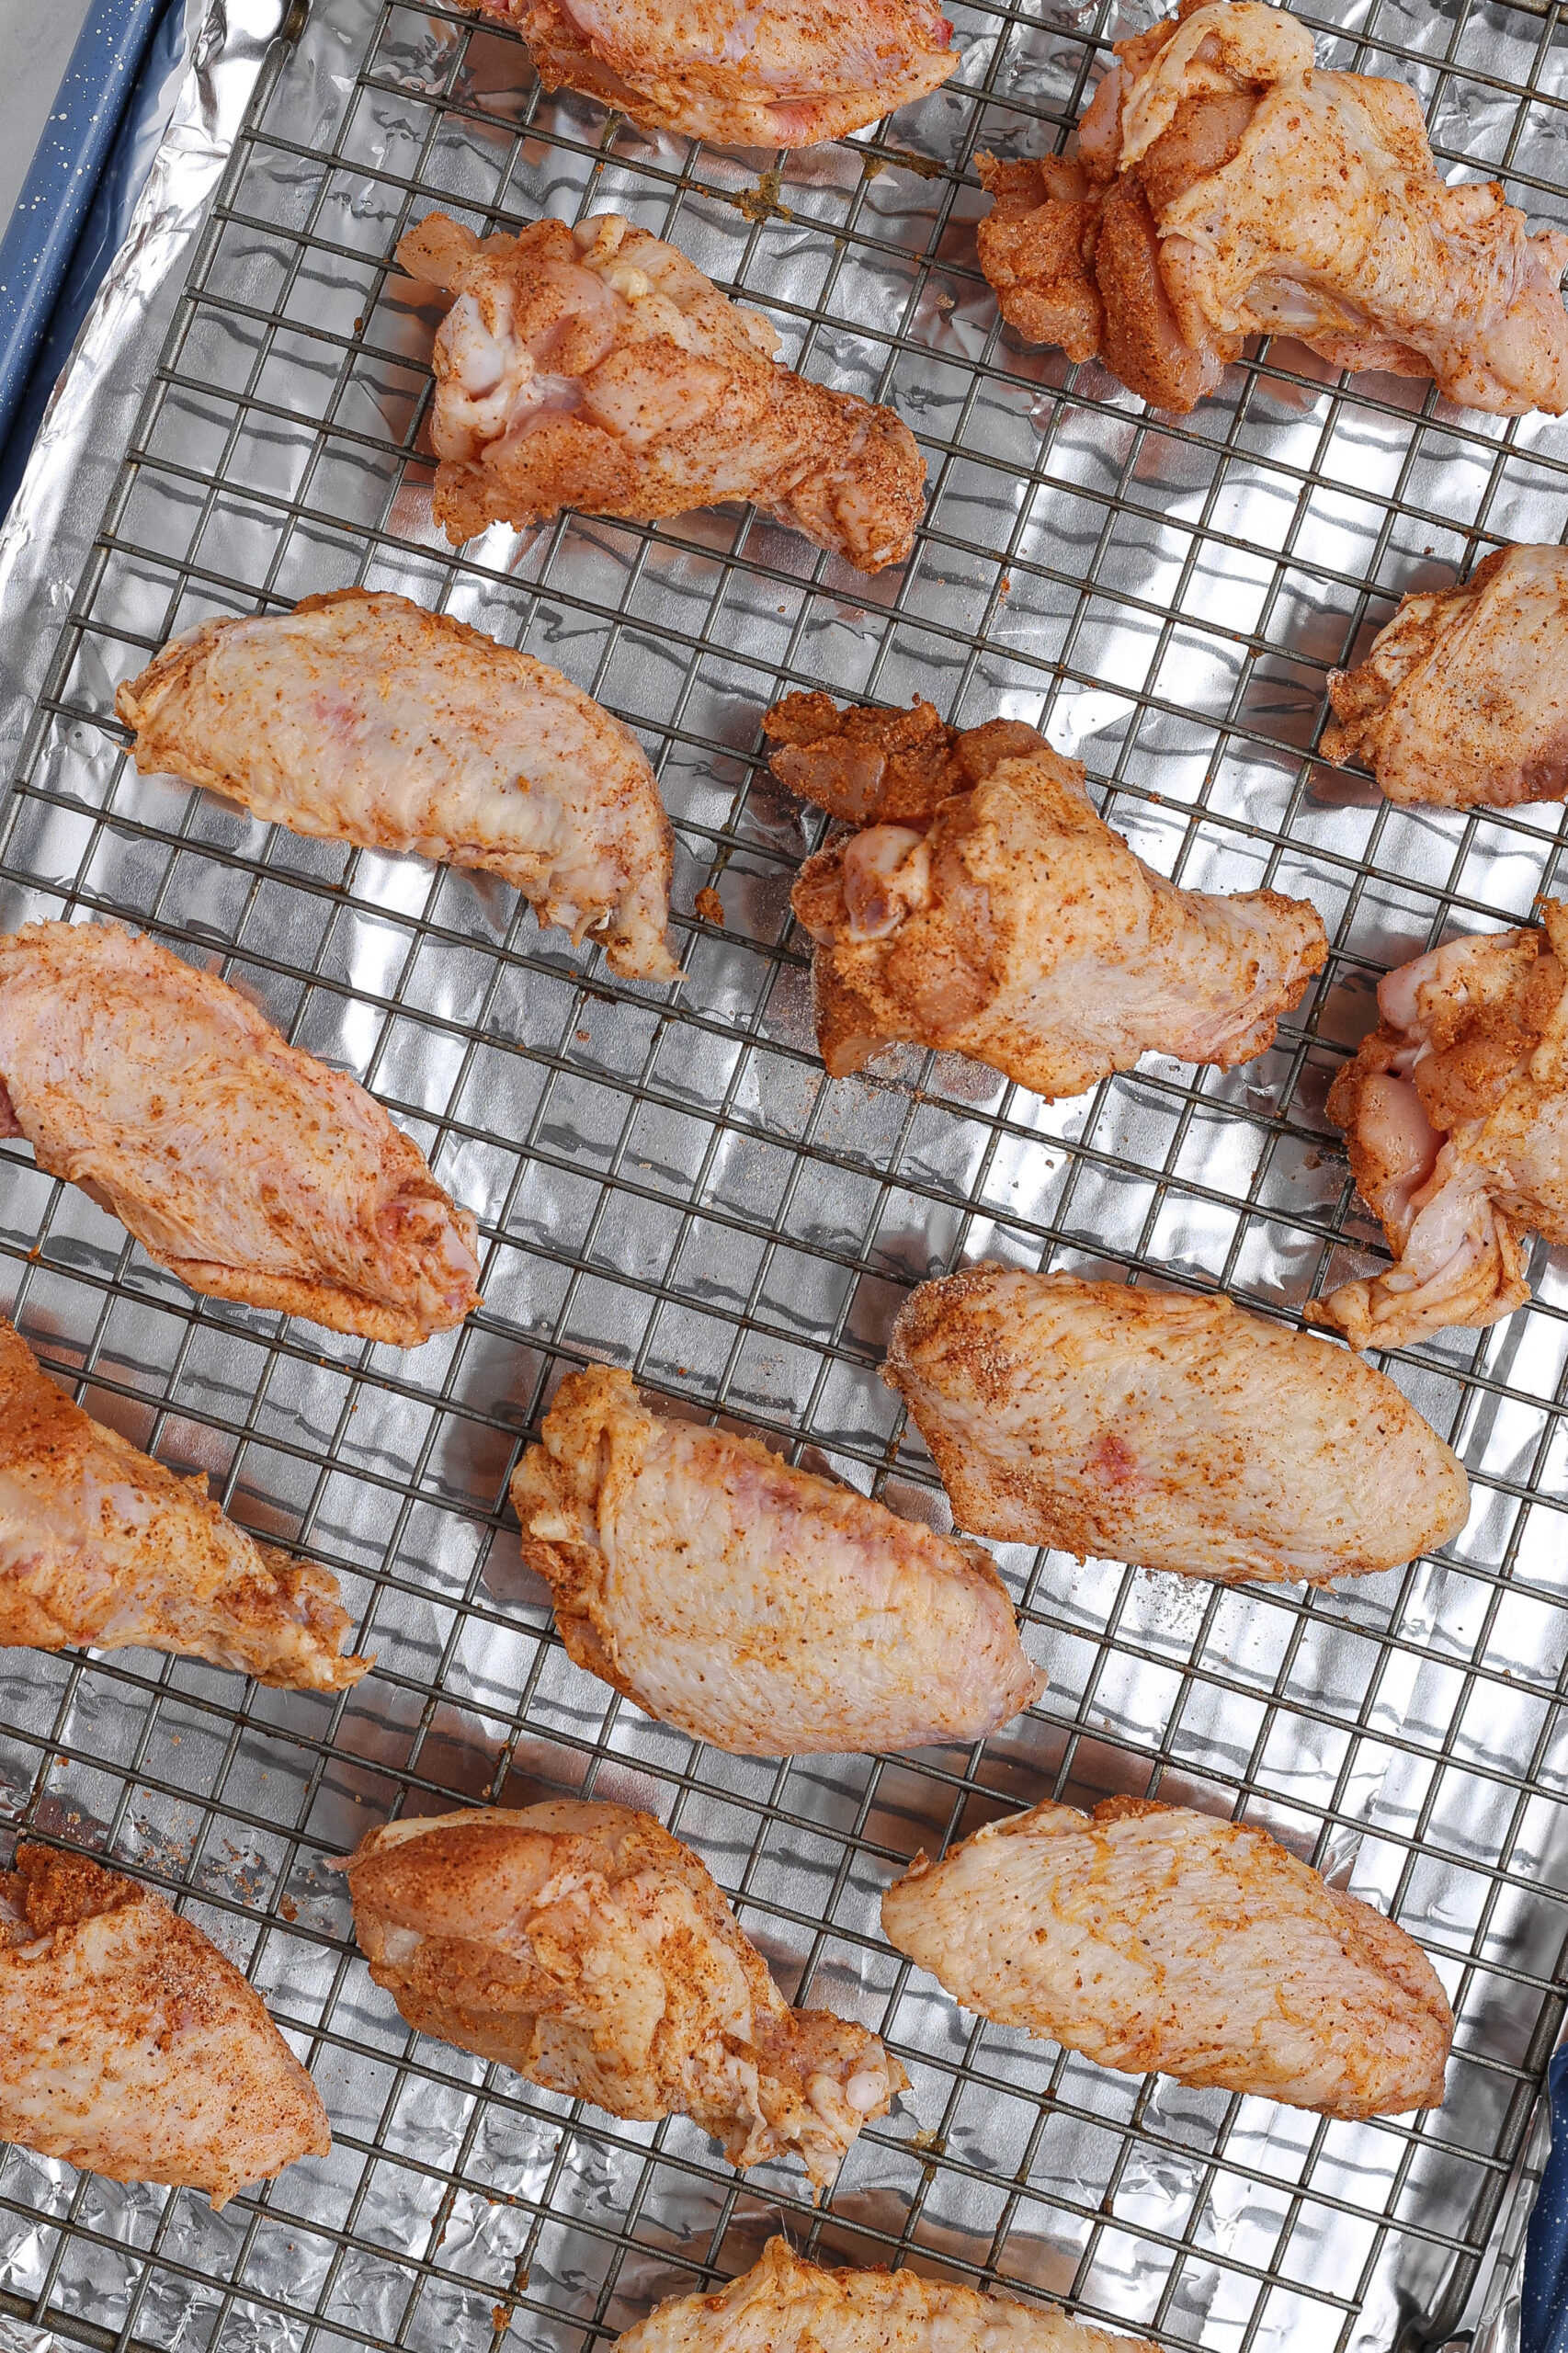
- Step 4: Arrange wings on the wire rack in a single layer, leaving a bit of space between each one.
- Step 5: Bake for 20 minutes, flip, then continue baking for another 15–20 minutes, until wings are golden and crispy and reach internal temperature of at least 165°F. Bake longer if needed. Oven temperatures vary.
- Step 6: Allow the wings to cool for 5 minutes.
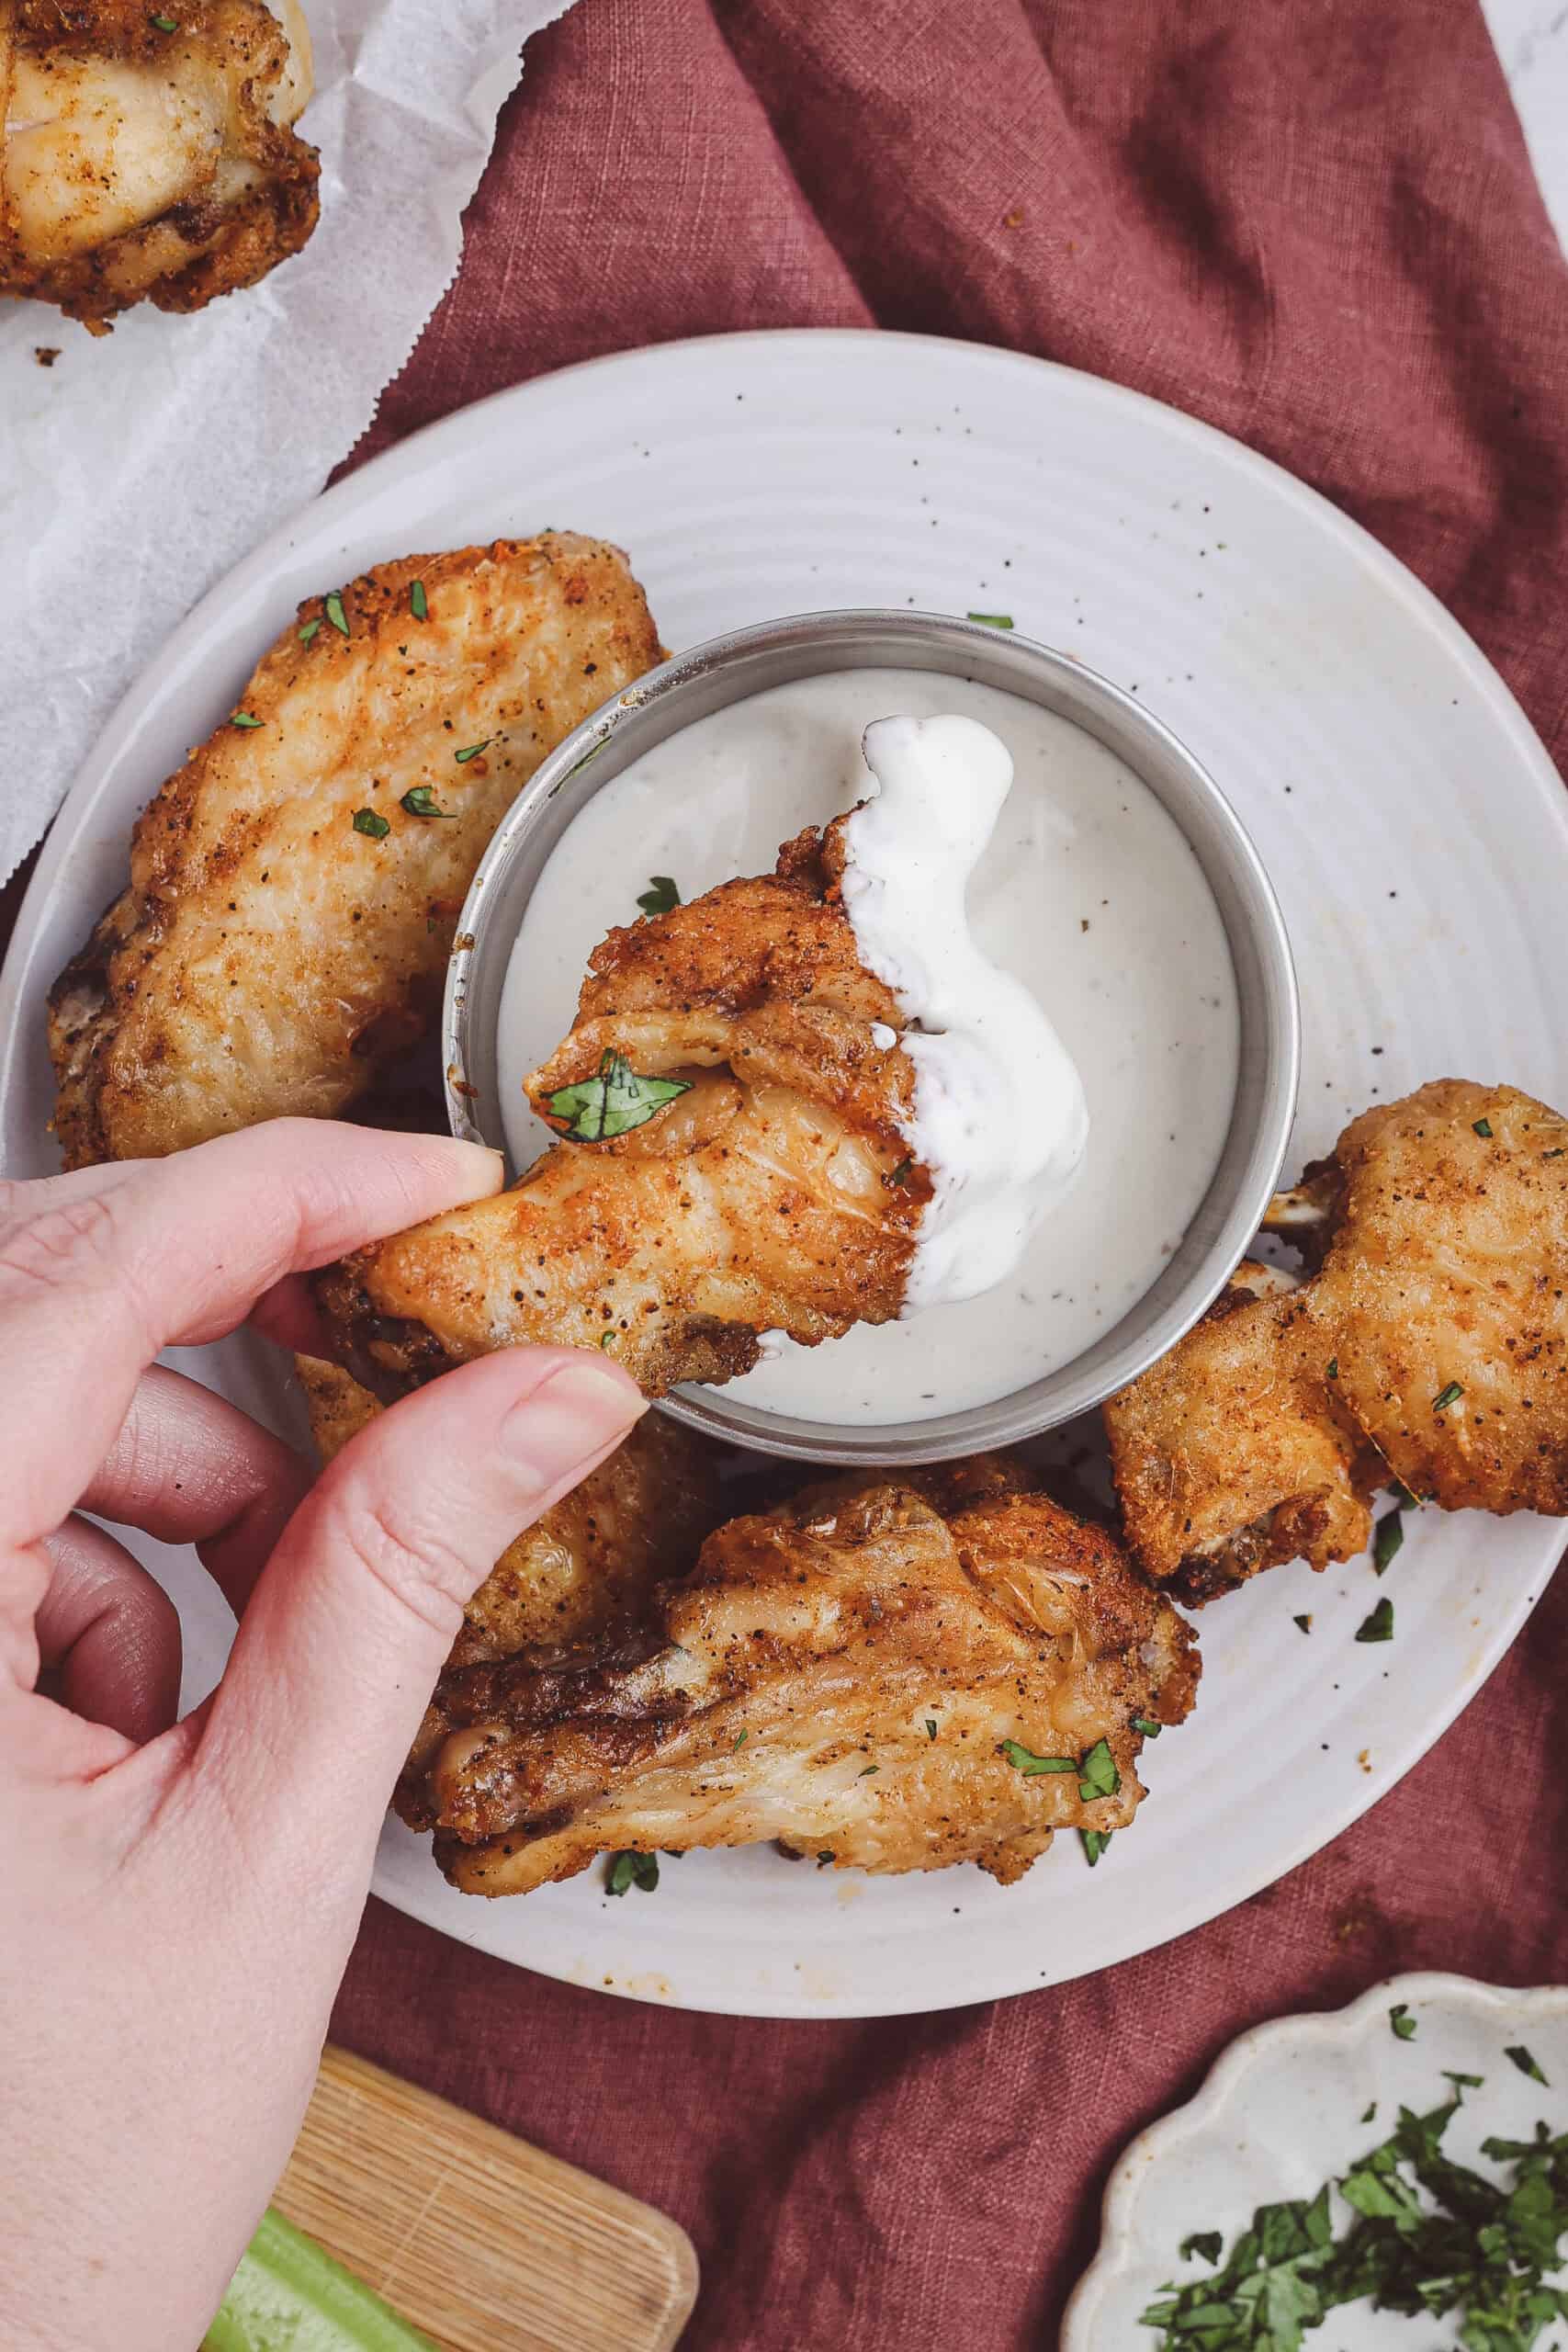
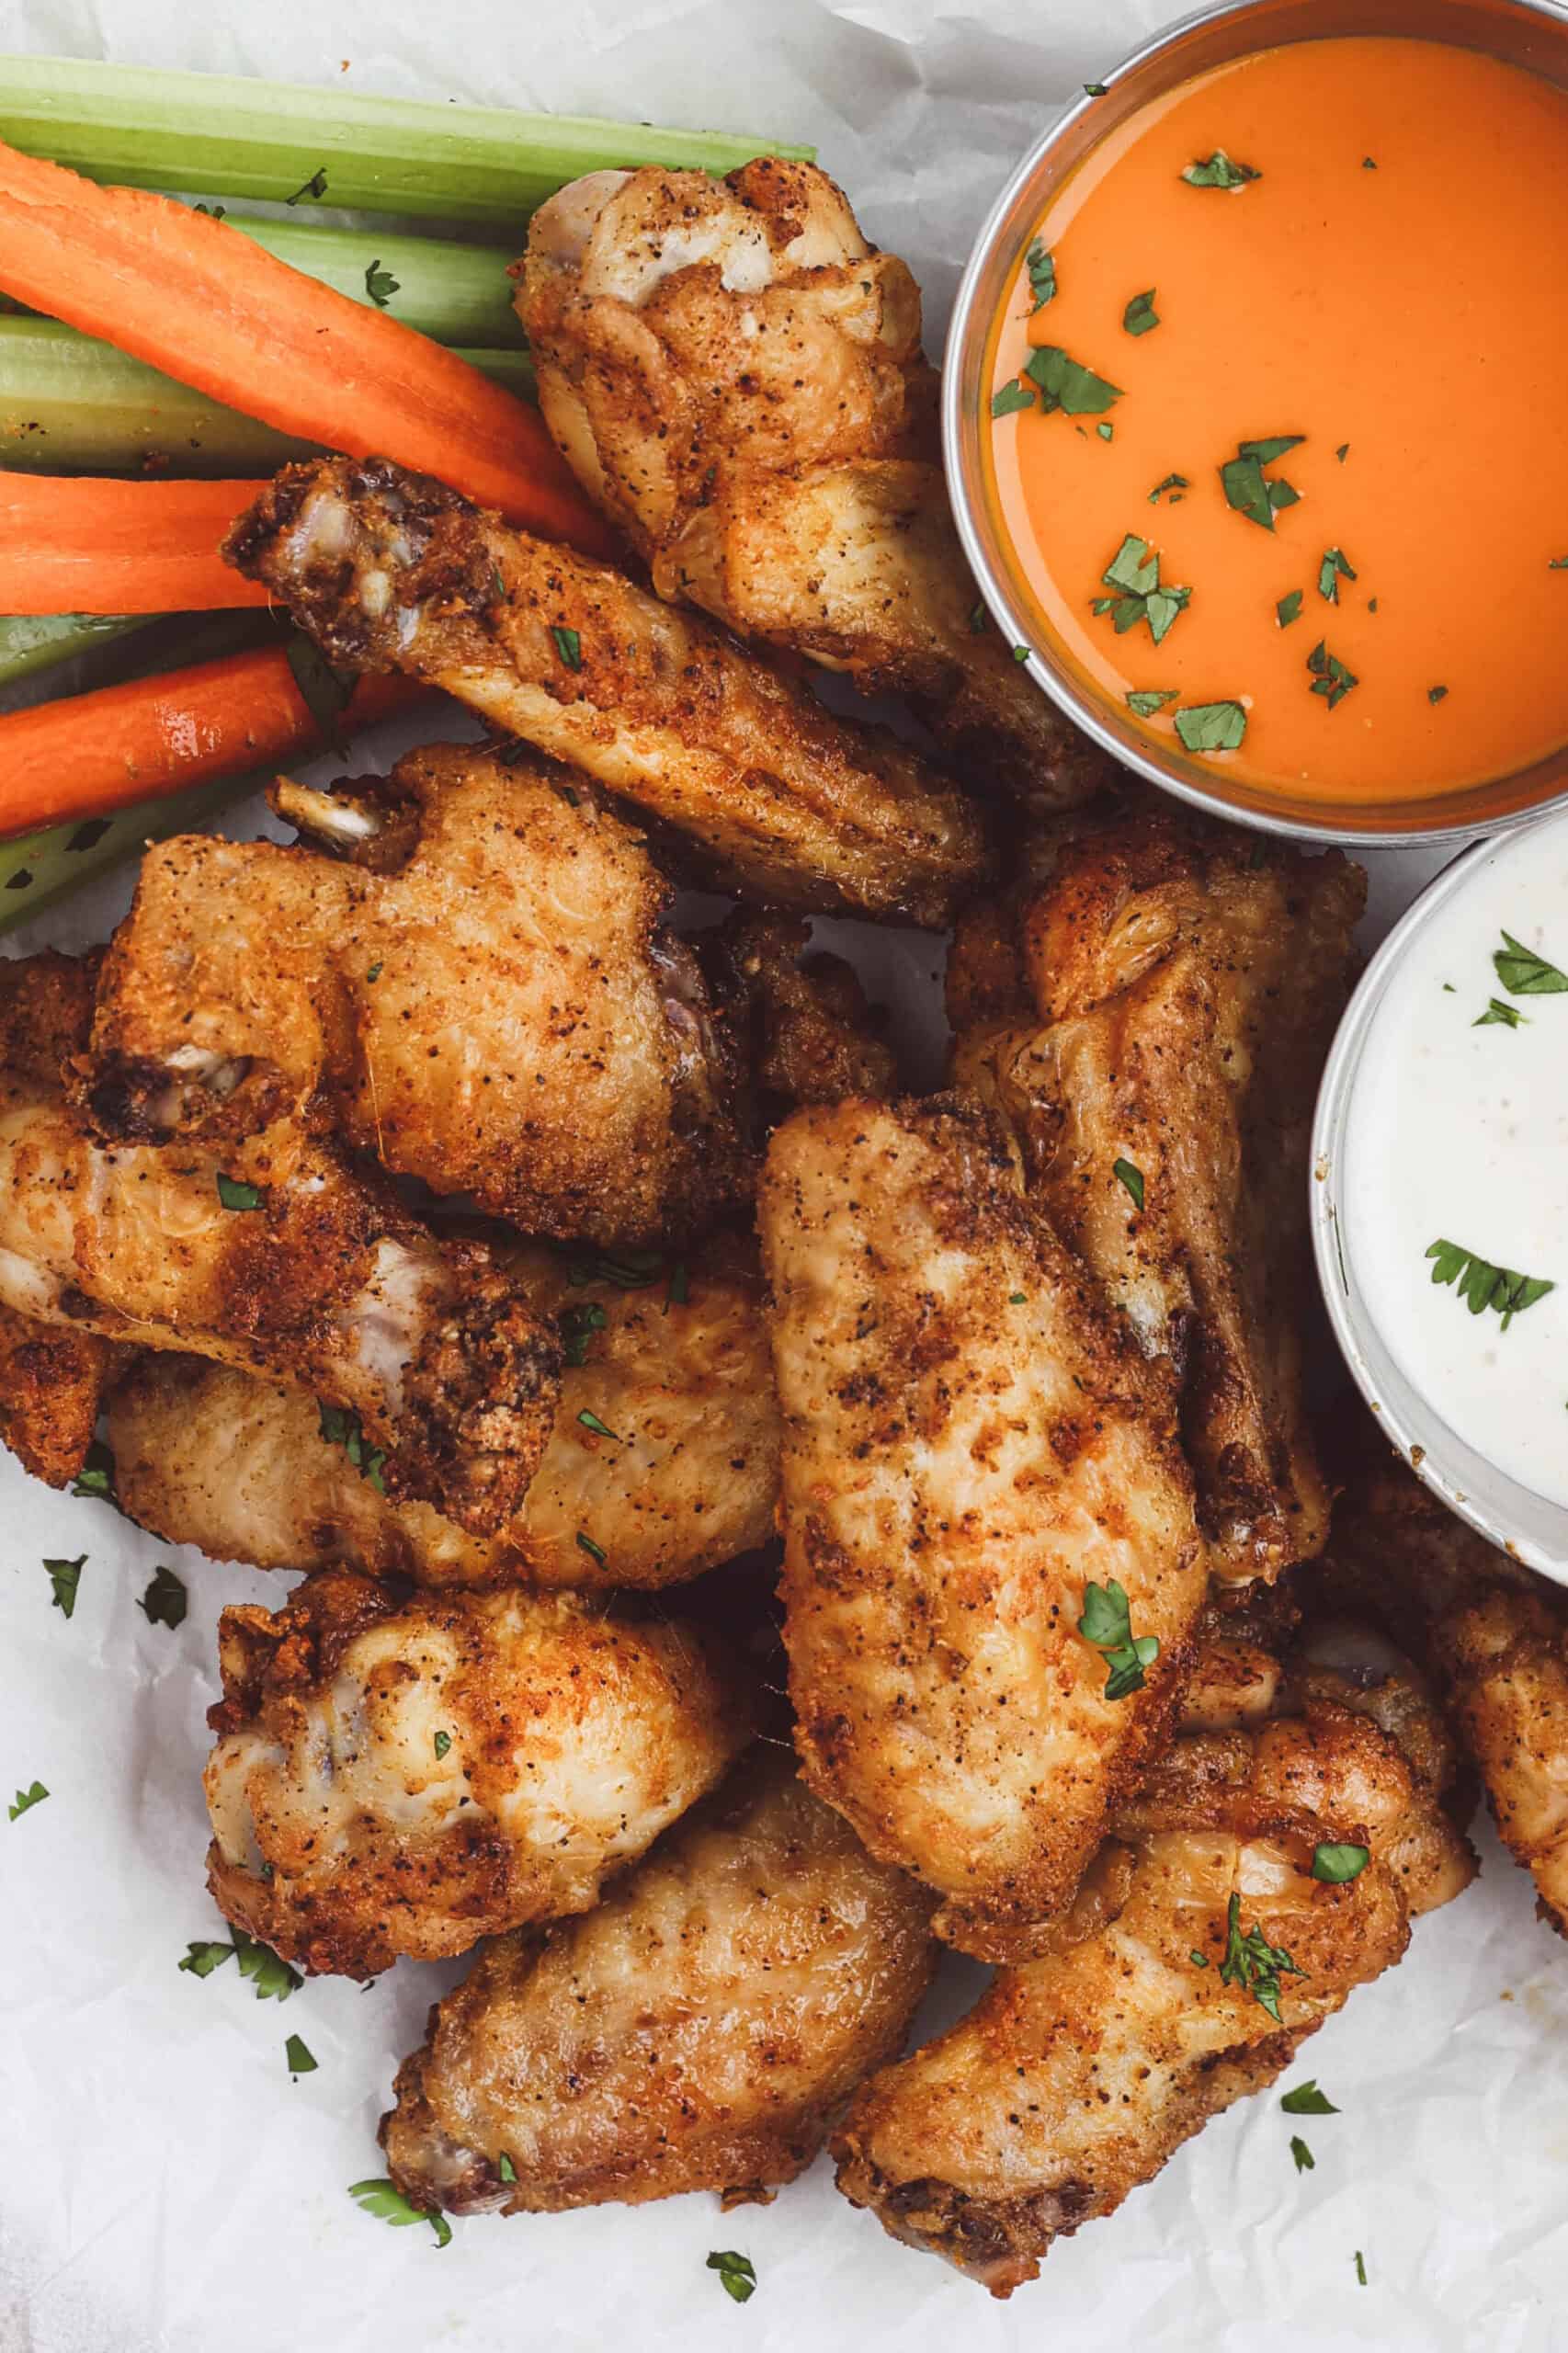
- Step 7: Serve the wings as is with a side of dipping sacue or toss with your sauce of choice while still warm. Enjoy!
Tips for Extra Crispy Wings
- Pat them completely dry: Moisture is the enemy of crispiness. Use plenty of paper towels to blot the wings before seasoning. The drier the skin, the crispier the result.
- Chill the wings before baking: For even crispier skin, place the raw wings uncovered in the refrigerator for 30 minutes up to overnight before baking. The cool air helps dry out the skin even more, leading to extra crunch once baked.
- Use baking powder, not baking soda: Baking powder raises the pH level of the chicken skin and helps it brown faster, giving that signature blistered, crackly texture.
- Don’t overcrowd the pan: Space the wings out so hot air can circulate around them. If they’re too close together, they’ll steam instead of crisp.
- Use a wire rack: Elevating the wings lets heat hit all sides evenly and keeps them from sitting in their own juices.
- Flip halfway through: This ensures even browning and prevents one side from becoming soggy.
- Broil for a final crunch: After baking, switch the oven to broil for 1–2 minutes per side to take that crisp to the next level. Keep a close eye since they can go from perfect to burnt fast!
- Let them rest briefly: A few minutes of resting after baking allows the skin to set and stay crispy once sauced or served.
Chicken Wings Rubs & Sauces
Once you’ve mastered this base recipe, you can easily transform your wings into all kinds of delicious flavors. Whether you love them sweet, spicy, smoky, or buttery, homemade rubs and sauces are easy to make with pantry ingredients; no store-bought bottles needed!
DRY RUB SUGGESTIONS: Dry rubs are a simple way to add flavor without sauce. Just mix the spices together, toss with the wings before baking, and enjoy!
- Classic Buffalo Rub: 1 teaspoon paprika, ½ teaspoon cayenne pepper, ½ teaspoon garlic powder, ½ teaspoon onion powder, ½ teaspoon salt, ¼ teaspoon black pepper
- Smoky BBQ Rub: 1 teaspoon brown sugar, 1 teaspoon smoked paprika, ½ teaspoon garlic powder, ½ teaspoon onion powder, ½ teaspoon chili powder, ¼ teaspoon salt, ¼ teaspoon black pepper
- Lemon Pepper Rub: 1 teaspoon lemon zest (or ½ teaspoon dried lemon peel), ½ teaspoon cracked black pepper, ½ teaspoon garlic powder, ¼ teaspoon salt
WING SAUCE SUGGESTIONS: These sauces take just a few minutes to make on the stovetop. Toss the wings while they’re still warm so the sauce coats evenly.
- Classic Buffalo Sauce: ¼ cup melted butter, ¼ cup hot sauce (like Frank’s RedHot), 1 teaspoon honey (optional for a hint of sweetness). Whisk together until smooth and glossy.
- Hot Honey Sauce: ¼ cup honey, 2 tablespoons hot sauce, 1 tablespoon butter. Melt together and simmer for 1 minute for a sticky, spicy glaze.
- Garlic Parmesan Sauce: ¼ cup melted butter, 2 tablespoons grated Parmesan cheese, 1 teaspoon garlic powder, ½ teaspoon parsley flakes. Stir together, then toss warm wings to coat.
- Sweet BBQ Sauce: ½ cup BBQ sauce, 1 tablespoon honey, ½ teaspoon smoked paprikA. Simmer together for 2–3 minutes until thick and shiny.
Making rubs and sauces at home is easier than you think! You probably have most of the ingredients already in your pantry. Start with one or two variations and play around with the flavors you love most. Once you know the base method, you can create endless combinations.
What To Pair Wings With
Crispy oven-baked wings go with just about everything; from classic game-day snacks to comforting Southern sides. Whether you’re hosting friends or making a weeknight dinner, these pairings will compliment your wings well for the ultimate spread.
- Celery and Carrot Sticks: The classic combo! Cool and crisp, they balance the heat of spicy wings.
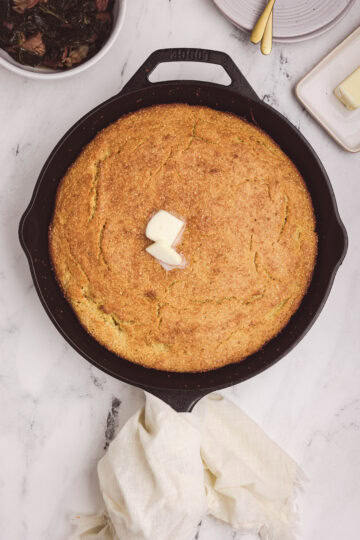
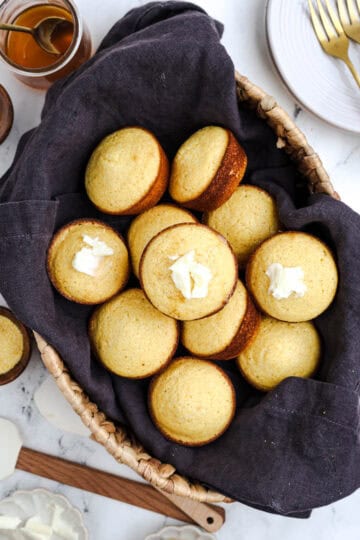
- Hush Puppies: Golden and crispy on the outside, tender inside; these little cornmeal bites are the perfect Southern sidekick to chicken wings. Try them with a drizzle of honey or a side of tangy dipping sauce.
- Jalapeño Poppers: Spicy, cheesy, and addictive! The creamy filling balances the heat of the wings and adds a fun kick to the table.
- Macaroni and Cheese: Creamy, cheesy, and a classic with wings.
- Sweet Corn on the Cob: Brush with melted butter and sprinkle with salt or Cajun seasoning.
Servings
This recipe makes about 4 servings, assuming each person enjoys around ½ pound of wings (roughly 6–8 wings per serving). If you're serving them as an appetizer or part of a spread, it can stretch to 6 servings, but for a main dish portion, plan on 4 servings.
Storage
Let wings cool completely, then store in an airtight container in the refrigerator for up to 3 days. To reheat and crisp them back up, bake at 400°F for about 10 minutes.
FAQ
Yes! Just make sure to thaw them completely and pat them dry before seasoning. Excess moisture from frozen wings can prevent them from crisping.
Absolutely! Use the same seasoning and cook in the air fryer at 400°F for about 20–25 minutes, shaking halfway through.
Bake at 425°F for about 35–45 minutes, flipping afer 20 minutes. The exact time can vary depending on the size of the wings and your oven. For me, the wings are perfect after 35 minutes of baking but some ovens may take a little longer.
If you don’t have a meat thermometer, don’t worry, there are a few easy ways to tell when your wings are fully cooked:
- Check the color: The skin should be golden brown and crispy all over, with no raw or pink spots.
- Look at the juices: Pierce one of the larger wings near the bone. The juices should run clear, not pink or red.
- Texture test: Fully cooked wings will feel firm to the touch, not soft or rubbery.
- Cooking time: At 425°F, wings usually take about 35–45 minutes to cook through, depending on size and oven accuracy.
Wait until after baking. Toss the wings in your favorite sauce while they’re still warm, right before serving. Adding sauce too early can soften the crispy skin.
Classic ranch or blue cheese are go-tos, but hot honey, BBQ, and garlic butter sauces are also amazing.
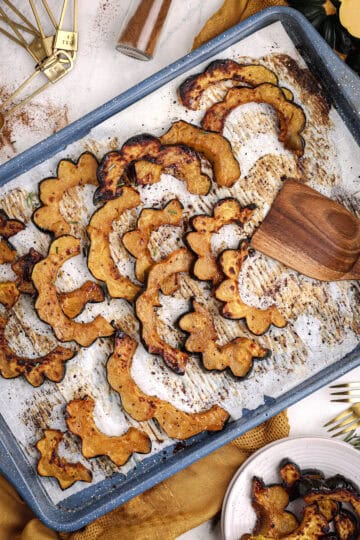
Additional Recipes
Try one of these recipes next:


Oven-Baked Crispy Chicken Wings
Equipment
- Baking Sheet
- Wire rack (optional, but helps with crispiness)
- Parchment paper or foil
- Large and small mixing bowl
- Tongs
- Meat Thermometer
Ingredients
- 2 lbs chicken wings split into flats and drumettes
- 1 tablespoon baking powder aluminum-free preferred
- 1 teaspoon salt
- ½ teaspoon black pepper
- ½ teaspoon garlic powder
- ½ teaspoon smoked paprika
- Cooking spray or a drizzle of oil for the wire rack
Instructions
- Pat wings completely dry with paper towels; you want zero surface moisture.
- Place wings in a large bowl and then put in the refrigerator uncovered for 30 minutes.
- Preheat oven to 425°F (220°C). Line a baking sheet with foil and place a wire rack on top. Set aside.
- In a small bowl, combine baking powder, salt, pepper, garlic powder, and paprika.
- Sprinkle over wings and toss to evenly coat.
- Lightly grease the rack with cooking spray.
- Arrange wings in a single layer (no overlapping).
- Bake at 425°F (220°C) for 20 minutes. Flip the wings over and bake for another 15 to 20 minutes, until the internal temperature reaches at least 165°F. Bake longer if needed. Oven temperatures vary.
- Let wings sit 5 minutes before saucing or serving.
- Serve the wings as is with a side of ranch or toss in your favorite sauce, like buffalo, lemon pepper butter, or honey garlic.
Did you enjoy this recipe? Your feedback in the comments takes just a minute to contribute and helps other brunch lovers find their next favorite recipe! Thank you for your time in trying out a new recipe and sharing your thoughts. For more, visit the recipes tab.

Comments
No Comments